How to install a Sitepackage in a composer installation:
First we must create all the files necessary for a sitepackage. The quickes way is to go ahead and download one for free in Sitepackage Builder
After we have downloaded our zip and unziped our sitepackage we can put it in our packages folder which we find in root. I have named my package playground

Now we have to include this sitepackage to composer.json file. This is how we can include a local package to composer:
              "repositories": [
                {
                  "type": "path",
                  "url": "./packages/playground"
                }
              ],
Go to terminal and run "composer install" This will automatically install all the packages included in the composer.json file including our sitepackage.
*NOTE: The sitepackage from sitepackage builder is missing its version in the composer.js and that will display an error when you try the command "composer install".
Go ahead and add a version for it. I'll add 1.0.0 since it is created for the first time.
              {
                "name": "contenance/playground",
                "type": "typo3-cms-extension",
                "description": "Just to play around",
                "homepage": "https://gerald-playground.ddev.site/",
                "license": ["GPL-2.0-or-later"],
                "keywords": ["TYPO3 CMS"],
                "version": "1.0.0",
                "require": {
                    "bk2k/bootstrap-package": "^12.0"
                },
                "autoload": {
                    "psr-4": {
                        "Contenance\\Playground\\": "Classes/"
                    }
                },
                "extra": {
                    "typo3/cms": {
                        "extension-key": "playground"
                    }
                }
            }
Now our sitepackage should be visible in the extensions in dashboard.

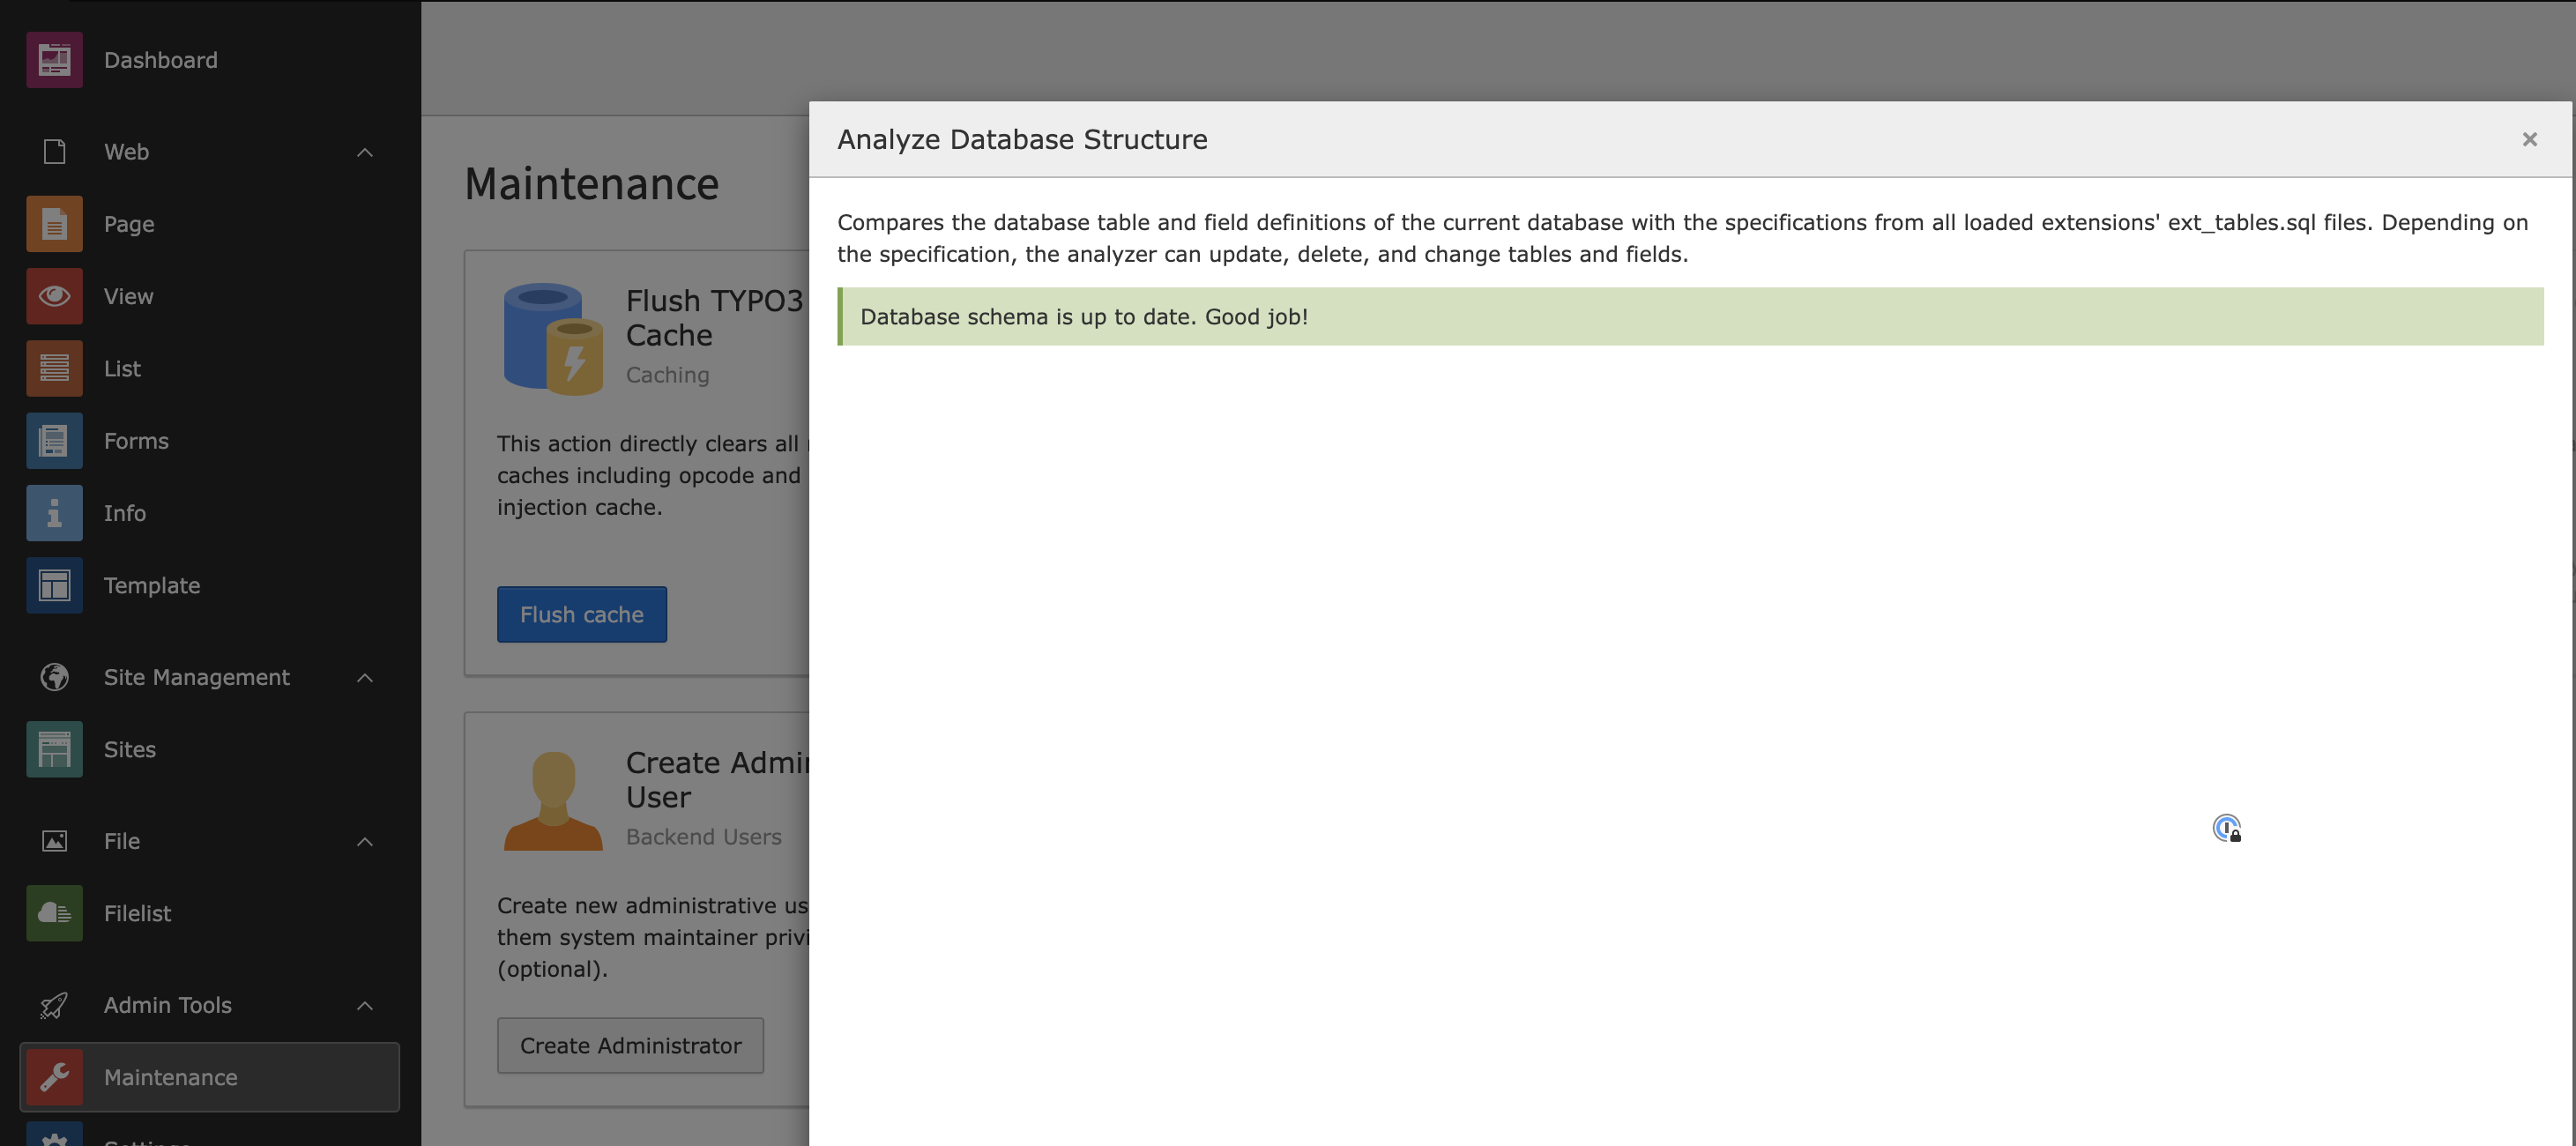
Last step to do is to update our database. To do this we need to go to "Maintenance" >> "Analyze Database Structure" and click "Apply Selected Changes".

*NOTE: Don't forget to go to "Maintenance" >> "Flush TYPO3 and PHP Cache" to be sure that the cache has been flushed.
Congrats on the new Sitepackage you have created! Build some awesome stuff!
